9 x 20 Compound Clamp
Page 2
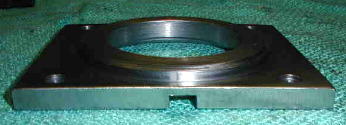
The bottom side of the clamp
Before starting on the bottom side of the clamp
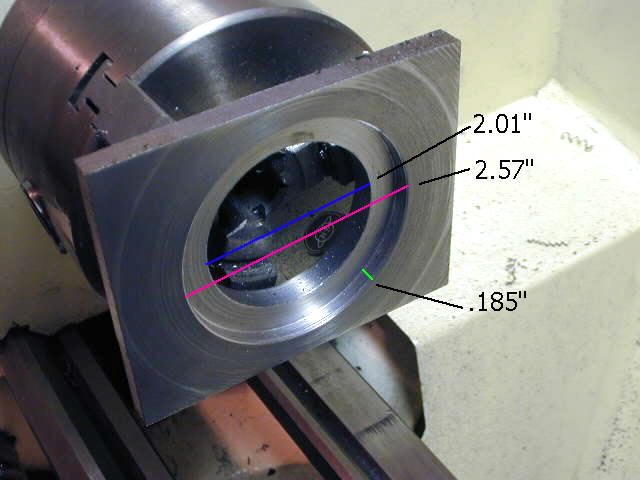
here is the finished pic along with measurements.
You can click on the pic for a larger version.
This will give you a better idea of the process.
The first step is to bore the ID to 2.01".
I use a large drill bit setup in the tailstock to remove as much metal
as possible ( 5/8"-3/4")
Next I use a lathe bit and stop short of the 2.01" I finish up
with a boring bar.
The 2.01" ID will be through the full thickness of the steel plate.
Still using the boring bar cut the outer shoulder to an OD of 2.57"
and a depth of .185".Refer to the larger picture
here.
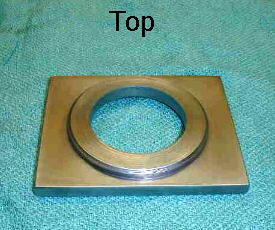
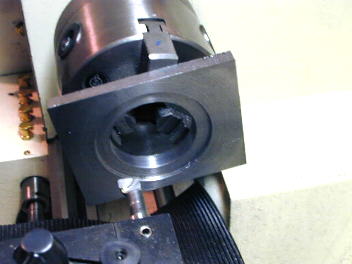
Once the bottom cuts are completed I turn the clamp over and
make a finishing cut across the raised shoulder on the top side.
Please also note that the construction of a new
compound clamp plate
needs to be a minimum of 1/2" thick steel ( 5/8"
thick would be even better)
This is to ensure that there is enough material
to provide a snug fit
to the existing neck of the compound to the new
hole in the clamping plate.
This extra material at the neck is what provides
the support,
not just the 4 attaching bolts.
For the four mounting holes I lay the clamp on the topslide and mark
with a straight edge.
I drill the four mounting holes to 17/64" (slightly larger than 1/4")
For attaching screws 1/4" carriage bolts with the sides of the heads
ground to fit the
T slots works well.
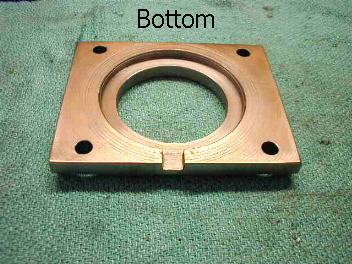
If you want to go an extra step you can add a notch that allows you
to see
the degree wheel. I did use the mini mill for this although a file
would work.
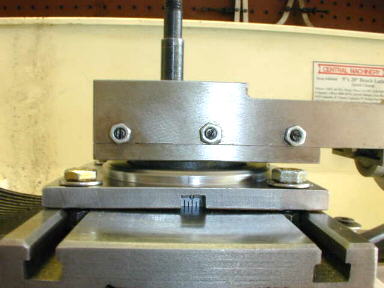
Completed clamp
Please note that these are the measurements
that worked for my HF 9 x 20 lathe.
All the 9 x 20's are basically
the same but exact measurements may differ.